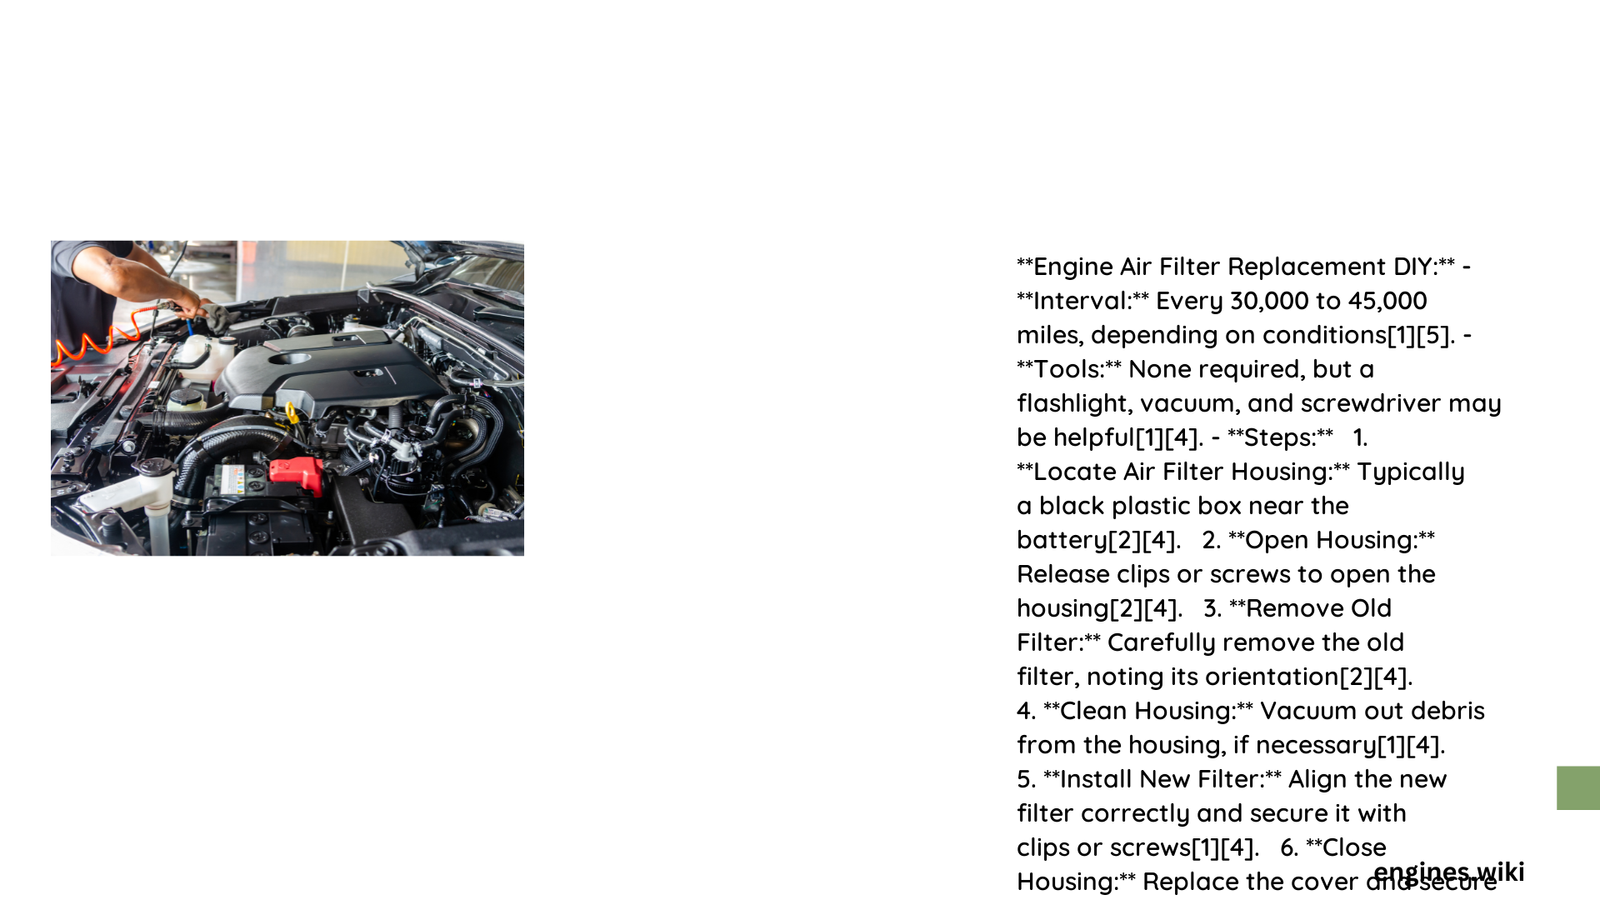
Maintaining your vehicle’s engine air filter is crucial for optimal performance and fuel efficiency. A clean air filter prevents contaminants from entering the engine, ensuring smooth operation and reducing potential damage. This comprehensive guide will walk you through the process of engine air filter replacement DIY, empowering you to save money and keep your vehicle running smoothly.
Why Replace Your Engine Air Filter?
What Happens When Air Filters Get Dirty?
Dirty air filters can cause multiple issues:
– Reduced engine performance
– Decreased fuel efficiency
– Increased engine wear
– Potential damage to internal engine components
How Often Should You Replace Air Filters?
| Vehicle Type | Recommended Replacement Interval |
|---|---|
| Regular Driving | Every 15,000-30,000 miles |
| Dusty Environments | Every 10,000-15,000 miles |
| Performance Vehicles | Every 10,000 miles |
Preparation for Air Filter Replacement

What Tools Do You Need?
Essential tools for engine air filter replacement DIY include:
– Screwdriver set
– Work gloves
– Safety glasses
– Clean cloth or compressed air
– New air filter specific to your vehicle model
Where to Find the Right Air Filter?
- Vehicle owner’s manual
- Auto parts store
- Online automotive parts retailers
- Dealership parts department
Step-by-Step Air Filter Replacement Process
How to Locate the Air Filter Housing?
- Open vehicle hood
- Identify rectangular or square plastic housing
- Usually located near engine compartment
- Check owner’s manual for exact location
What Are the Replacement Steps?
Step 1: Prepare Your Workspace
- Park on flat surface
- Ensure engine is cool
- Open hood securely
- Wear protective gear
Step 2: Remove Old Air Filter
- Unclip or unscrew housing cover
- Note filter’s original orientation
- Carefully remove existing filter
- Inspect housing for debris
Step 3: Clean Filter Housing
- Use compressed air or clean cloth
- Remove dust and accumulated particles
- Check for any signs of damage
Step 4: Install New Air Filter
- Place new filter in housing
- Ensure correct orientation
- Gently press to secure
- Do not force filter
Step 5: Reassemble Housing
- Replace cover
- Secure all clips or screws
- Ensure tight, proper seal
Common Mistakes to Avoid
What Should You Not Do?
- Do not install filter backwards
- Avoid using damaged filters
- Never skip cleaning housing
- Do not force filter into place
- Prevent using incorrect filter size
Cost and Savings
How Much Can You Save?
- Professional replacement: $50-$100
- DIY replacement: $10-$30
- Potential annual savings: Up to $200
Performance Benefits
What Improvements Can You Expect?
- Enhanced fuel efficiency
- Better acceleration
- Reduced engine strain
- Improved overall engine health
Troubleshooting Tips
What If You Encounter Issues?
- Check for proper filter fit
- Verify housing seal
- Listen for unusual engine sounds
- Monitor check engine light
Final Recommendations
When to Seek Professional Help?
- Complex housing designs
- Lack of mechanical confidence
- Unusual engine complications
- Specialized vehicle models
Pro Tip: Always consult your vehicle’s specific manual and consider your driving conditions when determining air filter replacement frequency.
