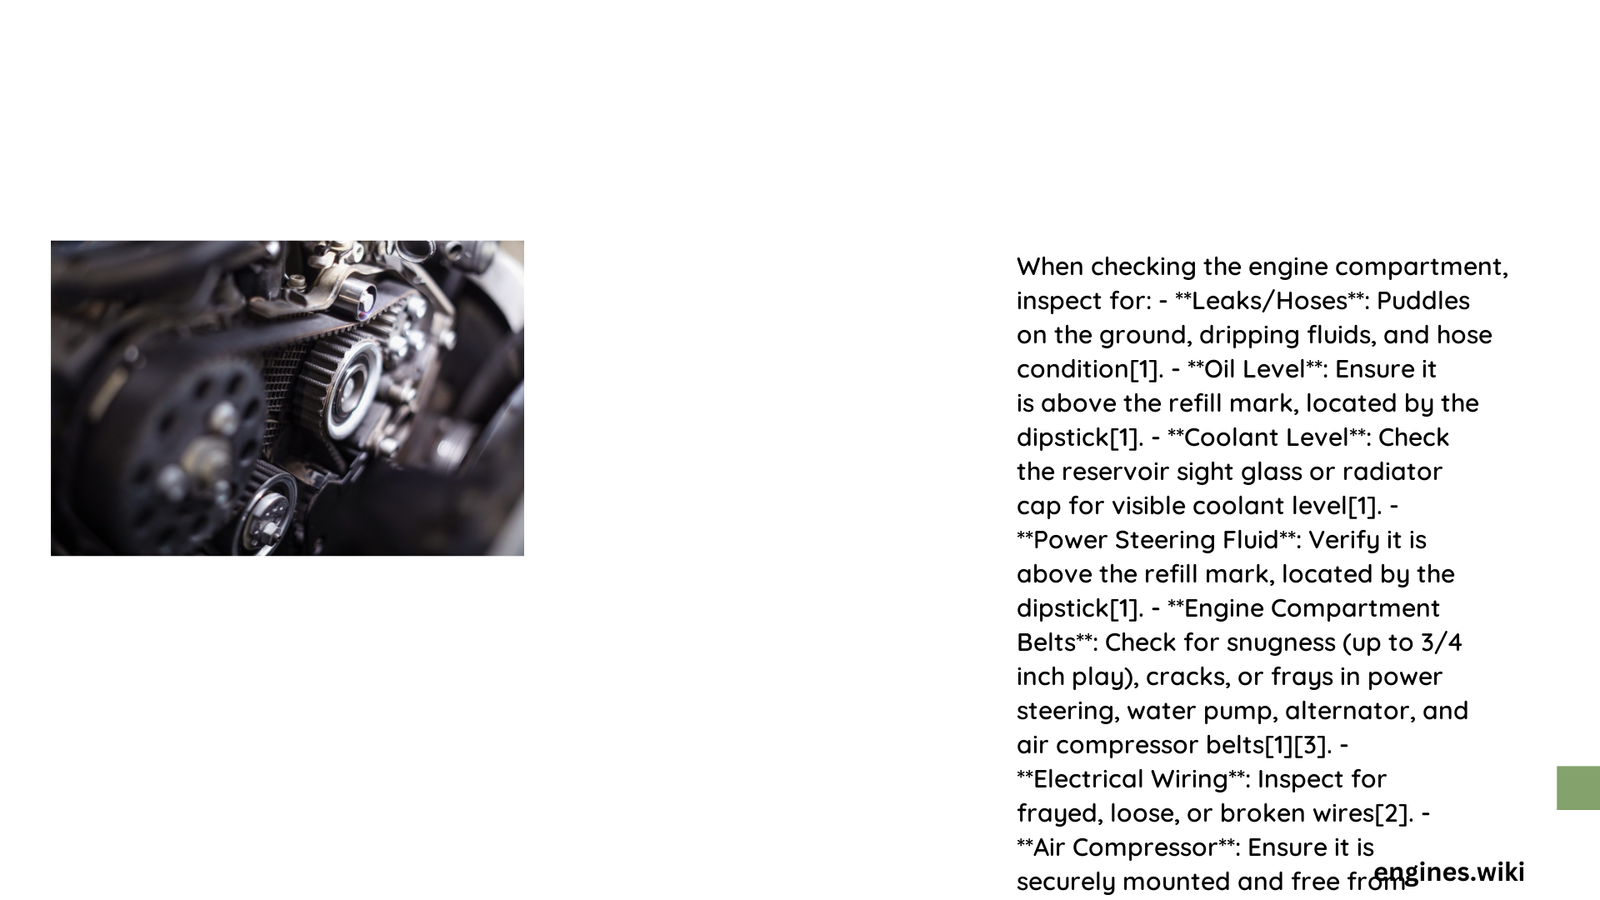
When checking the engine compartment is a critical aspect of vehicle maintenance that can prevent costly repairs and ensure optimal performance. Regular inspection helps identify potential issues before they escalate, allowing drivers to catch minor problems early and maintain their vehicle’s reliability. This comprehensive guide will walk you through systematic steps to thoroughly examine your engine’s critical components, providing insights into oil levels, coolant condition, battery health, and air filter status.
Why Should You Check Your Engine Compartment?
Regular engine compartment inspections are crucial for several reasons:
- Prevent Unexpected Breakdowns: Early detection of potential issues
- Extend Vehicle Lifespan: Proactive maintenance reduces long-term wear
- Optimize Performance: Ensures all systems function efficiently
- Cost Savings: Identifies problems before they become expensive repairs
What Tools Do You Need?
| Tool | Purpose | Recommended Type |
|---|---|---|
| Dipstick | Oil Level Check | Manufacturer-specific |
| Multimeter | Battery Voltage Test | Digital precision |
| Wire Brush | Terminal Cleaning | Non-conductive handle |
| Flashlight | Detailed Inspection | LED with adjustable beam |
How to Check Engine Oil Level?

Preparation Steps
- Park vehicle on level ground
- Ensure engine is at normal operating temperature
- Turn off engine and wait 5-10 minutes
- Open hood and locate oil dipstick
Oil Level Evaluation Process
- Clean Dipstick: Wipe with lint-free cloth
- Insert and Remove: Check oil level markings
- Assess Color: Healthy oil should be amber/brown
- Check Consistency: No grittiness or metal particles
Pro Tip: If oil appears dark or contains debris, consider professional inspection.
How to Assess Coolant Condition?
Visual Inspection Techniques
- Check coolant color (green, orange, or yellow)
- Look for sediment or contamination
- Verify fluid level in reservoir
- Inspect for potential leaks around connections
Coolant Health Indicators
| Indicator | Good Condition | Warning Sign |
|---|---|---|
| Color | Bright/Clear | Rusty/Murky |
| pH Level | 7.0-8.5 | Outside range |
| Consistency | Smooth | Grainy/Thick |
How to Examine Battery Terminals?
Corrosion Detection
- Look for white/green powdery substance
- Check for loose connections
- Measure terminal voltage
- Clean with baking soda solution if needed
Voltage Testing Guidelines
- Use digital multimeter
- Ensure 12.6+ volts for full charge
- Check ground connections
- Test under load conditions
How to Inspect Air Filter?
Replacement Indicators
- Visible dirt accumulation
- Reduced engine performance
- Decreased fuel efficiency
- Unusual engine sounds
Recommended Maintenance
- Replace every 15,000-30,000 miles
- Use manufacturer-recommended filter
- Consider more frequent replacement in dusty environments
Final Recommendations
- Perform monthly visual inspections
- Keep detailed maintenance records
- Address issues promptly
- Consult professional mechanic for complex problems
Warning Signs Requiring Immediate Attention
- Persistent oil leaks
- Coolant contamination
- Battery voltage instability
- Excessive air filter dirt
References:
– Optimal Auto Parts: Engine Oil Checking Guide
– Driven2Drive: Vehicle Maintenance Tips
– Car and Driver: Comprehensive Engine Inspection
